Are you eager to enhance your home WiFi network coverage and finding yourself stuck in the Wavlink AC600 Setup process? Don’t worry, you are not alone who face such issues. Many people got stuck when trying to configure their Wavlink AC600 Dual Band AP/Range Extender/Router. Common issues they face is lay between connectivity issues to confusing setup steps. Fortunately, with the right guidance you can easily complete your Wavlink AC600 Setup.
Further on this page you will get clear, step by step guidance to overcome the obstacles. Moreover, you can get your device up and running smoothly. Let’s proceed with the configuration steps without any additional discussion.
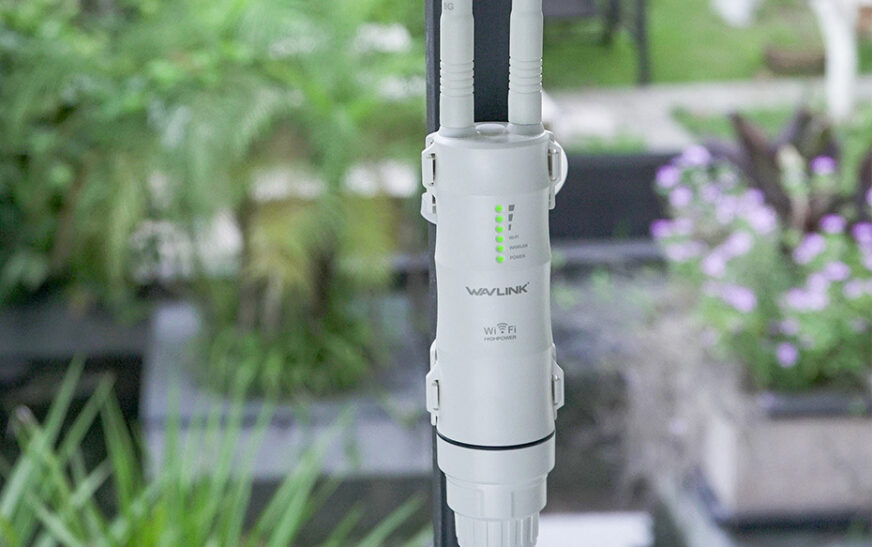
Wavlink AC600 Specifications
- You need to understand your device first, to get the best out of your device. Here are the detailed specifications of the Wavlink AC600 dual band device.
- The device comes with a USB wireless adapter (connected via a USB 2.0 interface).
- It supports IEEE 802.11ac (Wi-Fi 5), 802.11n (Wi-Fi 4), 802.11g, and 802.11b standards.
- You can operate the device on both 2.4 GHz and 5 GHz bands.
- It provides a combined maximum speed of 600 Mbps.
- The device supports various security protocols including WEP, WPA, and WPA2
- It is compatible with Windows XP through Windows 10, with limited support for macOS and Linux.
Wavlink AC600 Setup process
Few easy steps are involved in the Wavlink AC600 Setup. You can easily follow our guide to setup your device without any technical expertise. Here are the steps:
- Firstly, you need to unbox the device. In the box you will get an adapter, AC600 device, two detachable omni antennas, RJ45 Networking Cable, POE Converter, Main body holder, two Cable ties, Screw fittings with installation guide.
- Thereafter you need to follow the instructions given in the manual for the installation of the device.
- Connect the power adapter to the device and supply power to it.
Web Based Setup
- Now you have to launch a web browser and enter default IP in the browser address bar “192.168.10.1”
- Login page will display on the screen, enter the default login credentials.
- Choose the language and select the login option.
- Thereafter you need to proceed with the setup steps as guided on the screen
- Lastly, create/ change the SSID and password for security purposes.
WPS Based Setup
- To proceed with WPS based setup you need to press the WPS button on your modem/ router first.
- Within a few seconds press the WPS button on the AC600 device and let the device establish connection with the WiFi network.
- Once the process is complete your device LED will stable & green in colour.
Note: After completion of the setup process you can move your device and relocate it to another location if required. This will enhance the connectivity and improve signals across the area.
Troubleshooting Common Issues
You may encounter with several issues with your Wavlink AC600 device. These issues can be resolved by following a few common troubleshooting steps. Here we are going to elaborate the issue with the troubleshooting guide you may encounter with:
Adapter Not Recognized
In case your computer or laptop is not able to detect the adapter, it may cause a problem. It is the most common issue. You can resolve it by follow these steps
- Check & ensure that the adapter is plugged into a working USB port.
- Change the adapter port and try another USB port to rule out the issue.
Connection Drops or Poor Performance
The most common issue faced by most of the users. Suddenly the connection of the network disconnected or weakened the signal strength or inability to connect to networks. All these issues can easily be resolved by follow these steps
- Ensure the device is within the range. If there is a lot of distance, try moving it a bit closer.
- In case any electronic device or heavy metal equipment is placed near the device, eliminate them for enhanced performance of the device.
- Restart/ reboot your device if problems persist even after eliminating the interference and moving the device closer.
Cannot Connect to Network
In case you are not able to connect with the network then you need to
- Double check the SSID and password.
- Restart all your devices including your computer, modem and router.
- Ensure your computer, configured to obtain IP automatically.
Additional Troubleshooting
Even after all the above mentioned steps you still face issues then you have to follow these troubleshooting steps
- Firmware Update: Sometimes firmware is not up to date or outdated. It may cause trouble in connectivity. To resolve the problem, you should look for the updates. If there is any pending update left, run firmware update.
- Reset your device to factory settings: In case you encounter with sudden network drops and no internet issue, you can follow this step. Must follow the above steps firstly. This is the last step you can do by yourself. Due to this you need to re-configure your device as well.
In case you have tried all the troubleshooting steps but yet your problem is not solved, then you need technical help. Feel free to connect out technical team available for support every time. We are available on call or live chat. You can also write us on our email. Furthermore, our team will guide you and try to solve your issue even by taking you on remote.
Connection Drops or Poor Performance
The most common issue faced by most of the users. Suddenly the connection of the network disconnected or weakened the signal strength or inability to connect to networks. All these issues can easily be resolved by follow these steps
- Ensure the device is within the range. If there is a lot of distance, try moving it a bit closer.
- In case any electronic device or heavy metal equipment is placed near the device, eliminate them for enhanced performance of the device.
- Restart/ reboot your device if problems persist even after eliminating the interference and moving the device closer.