Wavlink repeater devices are often used by people to extend the coverage of their existing network. If you are facing problems in current router network signals such as wifi dead zone or weak internet connection area then you can get it resolved with 192.168.10.1 wifi repeater setup. Setup process of the wavlink repeater is not a daunting process. Rather it is a straightforward process. Only those who are aware regarding the setup process steps can perform it. For setup of the device no technical qualification is required. Networking with a wavlink device is super easy to move ahead with. Check out the step by step guide to configure the wavlink repeater.
Wavlink WiFi Repeater Setup
Setting up the repeater is quick and easy with the WPS button based method. Whereas with a web based setup method it takes time but you can make several changes in the network settings as per your will. Check out the step by step instructions you need to follow for web based setup.
Place & Power Wavlink Repeater
First of all you need to place the wavlink repeater device closer to the host router device with which you desire to connect it. Placement of the device is very important. You can relocate the repeater after completion of the initial setup to optimize the device performance.
Once positioning is done, use the power adapter to power up the device. Connect the adapter to the wavlink repeater device & power outlet. Boot up may take about 2 to 5 minutes. Wait till the power LED gets stable.
Connect To Repeater Network
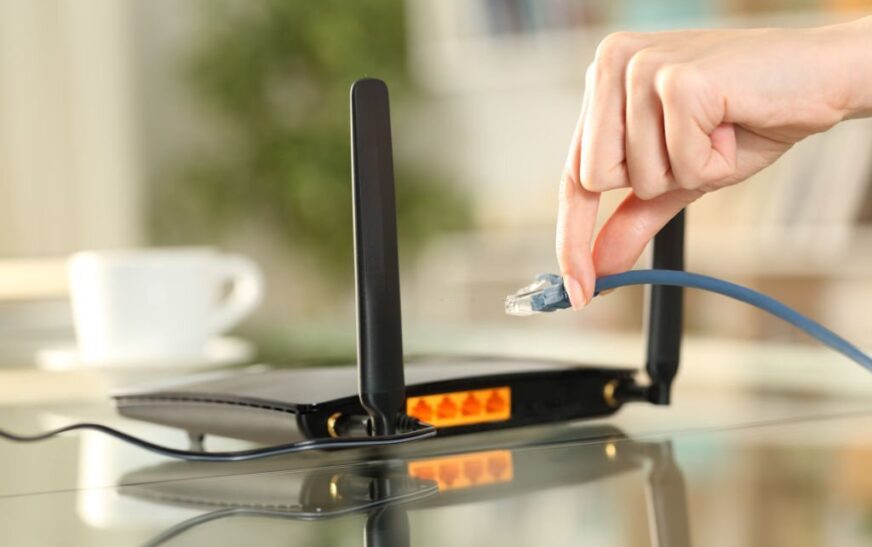
Moving ahead in the 192.168.10.1 wifi repeater setup process you need a computer or laptop. Connect the device to the repeater’s network by accessing wifi settings. Search for the repeater’s wireless network name and choose it. Mention the password as mentioned on the device label and connect to it. Also you can use the ethernet cable to connect with the repeater LAN directly. You have to only inject a cable into the computer/ laptop and LAN port of the repeater.
Access Web Interface
To step ahead you need to launch a web browser on the same device you recently connected with the router’s network. Once you launch the browser you can initiate the 192.168.10.1 wifi repeater setup by accessing the repeater’s settings using IP 192.168.10.1. Click on enter button after mentioning the IP in URL bar to open the web interface. Thereafter mention the date, time & select language. Later on you have to initiate the configuration.
Configure Wavlink Repeater
Commence configuration of the wavlink repeater device by following the screen. Firstly you have to connect it with the router device by choosing the router’s network name. Mention the password in the space given to connect the devices. Once connection is complete you have to create a new name for the wavlink repeater’s network and password also. Afterwards you can step ahead to the next settings and check for the firmware update. In case the firmware version of the repeater you have is outdated then install the current one for best performance. After making all the significant changes, finalize the setup by selecting the submit button.
Relocate The Wavlink Repeater
After configuring the device, you have to relocate the device to optimize the performance. Here certain things you have to focus on while deciding the position of the repeater device:
- Do not choose the location which is closer to thick walls.
- In case the microwave or other radio frequency device is placed then do not keep a repeater there.
- Avoid placement closer to the heavy metal objects.
- Keep the repeater within the range of the host router device.
- Do not keep the repeater too far from the area where you were facing weak signal issues before the repeater setup.
- Try placing the repeater in between the area where the router is placed and where the signal problem is.
Test Network
After relocating the device, let it boot up and then perform a speed test. Speed test & coverage check is very important. In case you still face a problem then you can relocate the device to cope up with the signal issue. For checking the network you can use a wireless enabled device. Connect with the repeater network and then you can browse high definition content to check the network speed. Move around the area to confirm the coverage.
Conclusion
From the gist of the above description I would like to conclude that the wifi repeater setup process is very easy to follow. All those who have the knowledge of the setup process can easily configure the device and add the device to their existing network. In case any help is required then connect the customer support service provider. Customer support team can help you in configuring the device in case you got stuck anywhere in the 192.168.10.1 wifi repeater setup process. So, don’t think too much, just give a try to configure the device.